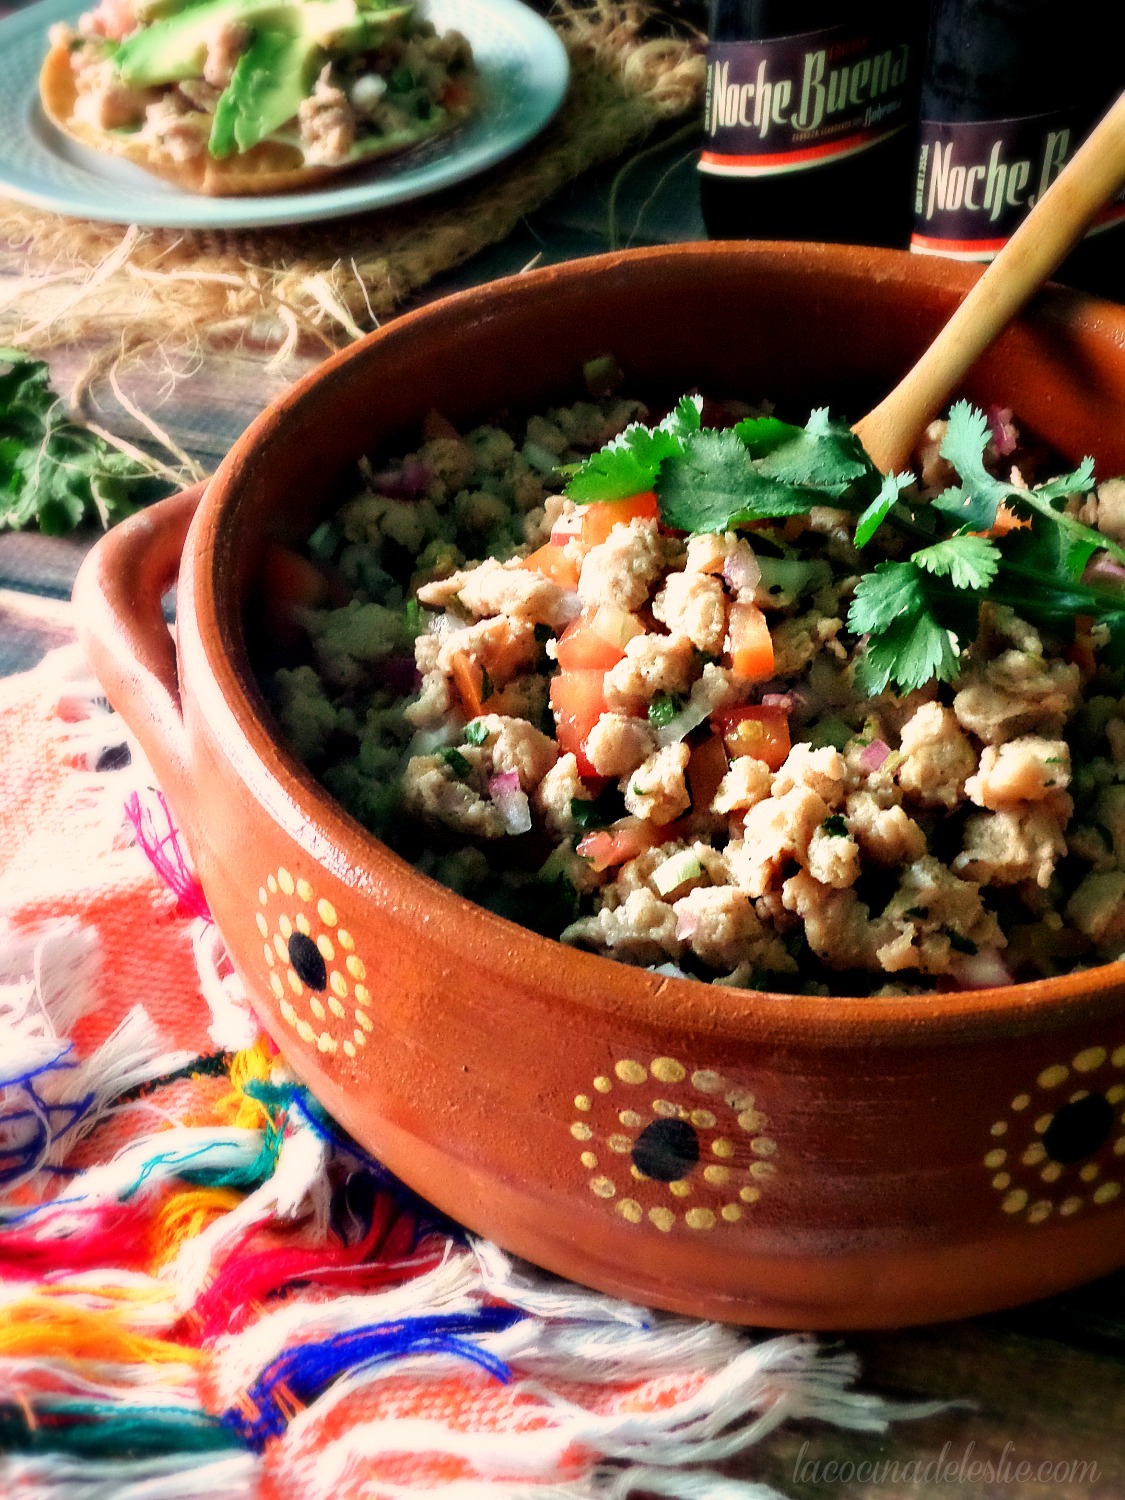
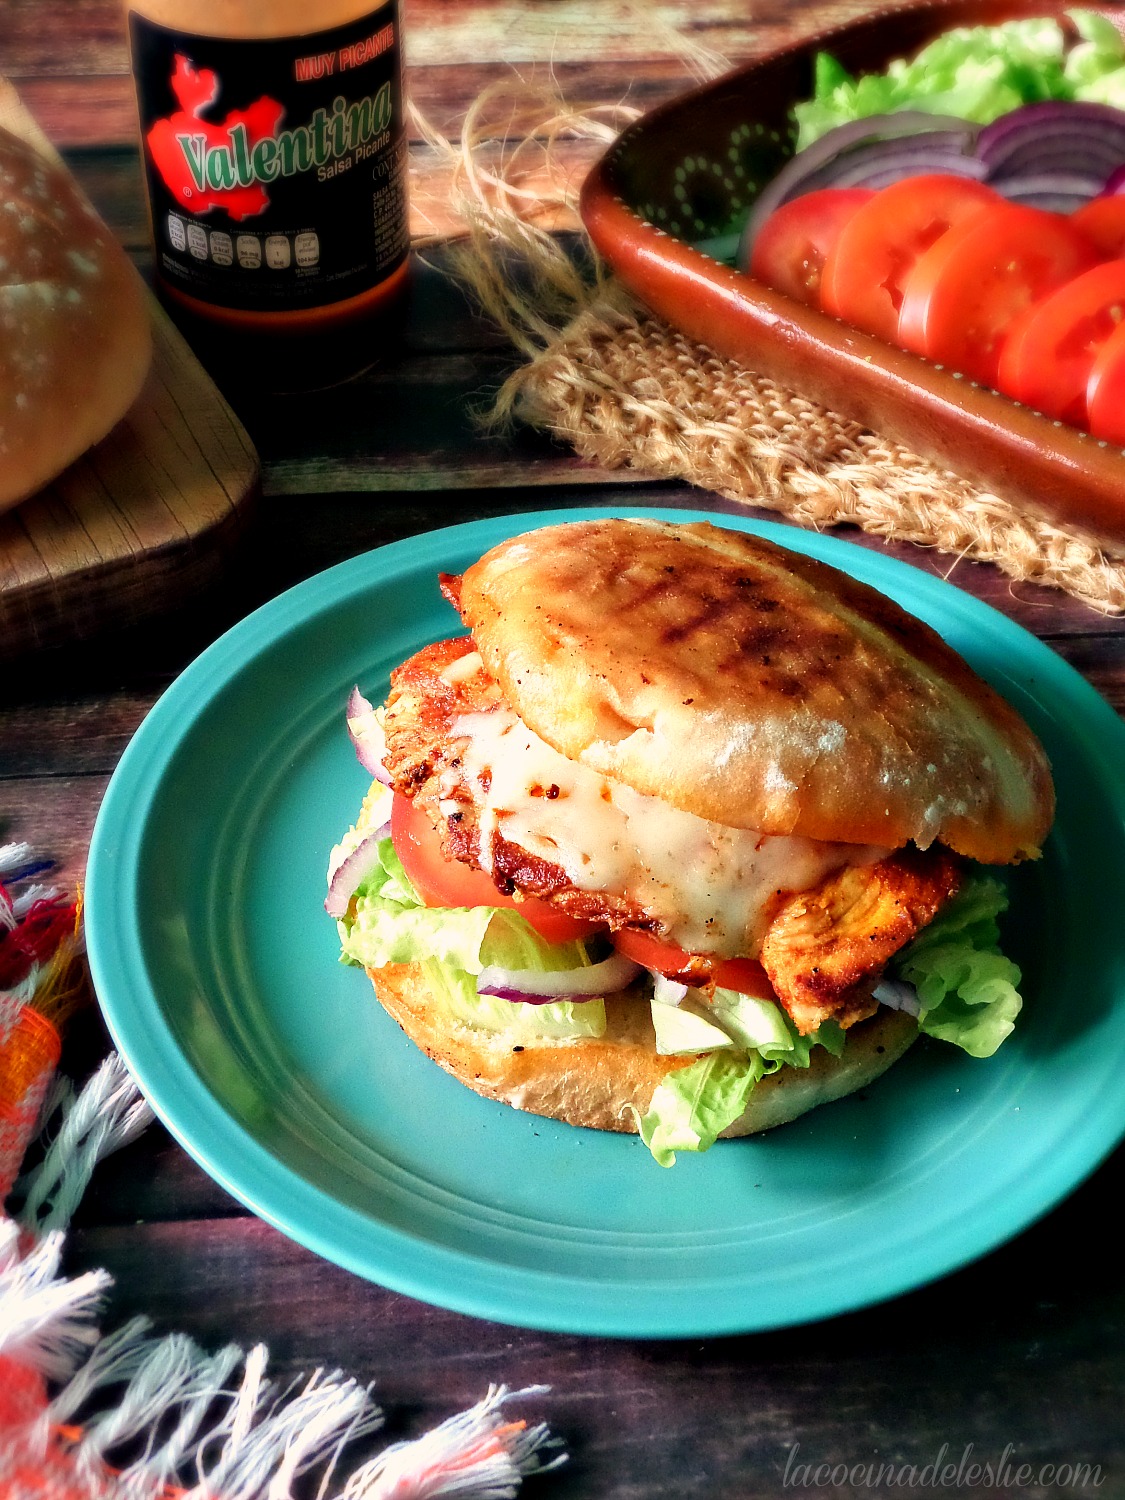
Coctel de Camarones {Mexican Shrimp Cocktail}


Mexican Shrimp Cocktail


Today's recipe is one I will never forget.

I learned how to make Coctel de Camarones after a small cultural difference with Hubby when we were newlyweds.

My new Hubby had requested that I make one of his favorite foods...Coctel de Camarones (Shrimp Cocktail.)

I had never had shrimp cocktail before.  I had only seen it on TV cooking shows and in cookbooks.  Not even my grandparents could help me with this one.  So, I perused through the many cookbooks I received as a wedding present, looking for the perfect shrimp cocktail recipe to impress my Hubby with.  Most of the recipes I found involved serving cold, cooked shrimp in a cold tomato-chili sauce dip of sorts.  I couldn't figure out why Hubby would want shrimp cocktail for dinner, isn't it an appetizer?  But, I made it for him anyway.

It was pretty easy.  All I had to do was cook the shrimp and make the cocktail sauce.  My shrimp cocktail turned out just like the one in the cookbook.  I let it chill in the refrigerator until Hubby came home from work.   

Hubby sat down to dinner, and began eating his shrimp cocktail.  He really liked it.  He ate it all!  Then he turned to me and asked if the Coctel de Camarones was ready.  What???  Didn't you just eat all of the shrimp cocktail?   

I was confused, again!

I argued explained to Hubby that he had already eaten his Coctel de Camarones.  I even showed him the picture in the cookbook.   Hubby just stared at me and nodded.  And waited patiently for me to stop arguing explaining.

Finally, Hubby got his chance to explain that American Shrimp Cocktail and Mexican Coctel de Camarones are two very different dishes.  

Coctel de Camarones is more of a soup, served at room temperature, made with cooked shrimp, chopped tomato, onion, cucumber, avocado and ketchup.  Yes, ketchup! (Or catsup!)  It's a very easy recipe.  No measuring required.  Just add as much or as little of the ingredients that you want.

Coctel de Camarones
(Mexican Shrimp Cocktail)

Ingredients:
  • 1 pound shrimp
  • 1 small onion
  • 1 sprig cilantro
  • Chopped tomato
  • Chopped onion
  • Chopped cucumber
  • Chopped avocado
  • Fresh limes or lemons
  • Ketchup
  • Bottled hot sauce (optional)

Directions:
Peel and de-vein the shrimp.  (Trust me, you really don't want to eat that nasty black vein.)  Place shrimp in a medium saucepan with the small onion and sprig of cilantro.  Fill with enough water to cover shrimp. (About 4 cups.)  Cook over high heat just until the water begins to boil.  Immediately remove from heat.  (You'll know the shrimp are completely cooked when they turn a pinkish/orange color.)


Coctel de Camaron prep


While the shrimp is cooking, fill individual bowls with desired amounts of chopped tomato, onion, cucumber and avocado.  Spoon the cooked shrimp into bowls.  Squeeze the juice of half a lime over shrimp.  Top with 1/4 cup of ketchup.  Fill the bowls with shrimp broth.  Stir to combine all of the ingredients.

Serve with bottled hot sauce, tostadas and/or crackers.  Enjoy!!!


You might also like these delicious Mexican shrimp dishes: 


The Very Best Pumpkin Cake

I love to read cookbooks as if they were novels.  The one that I can't seem to put down is the Southern Cakes cookbook that The Cake Slice Bakers are using.

I was looking for a cake to make for my father-in-law's birthday.  I had a freezer full of pumpkin puree, so the Pumpkin-Raisin Cake caught my attention.

There were only a few adjustments that had to be made. 

The recipe calls for self-rising flour, which is nowhere to be found in Mexico.  But, the recipe also includes a suggestion on what to use in place of the self-rising flour.

The recipe in the book is Pumpkin-Raisin, but I'm the only person in my family that likes raisins.  So, I didn't include the raisins in my recipe and changed the name to Pumpkin-Pecan

The frosting was perfect.  The consistency resembled store bought frosting, but tasted much better.  

(Sigh!)  This cake was moist and delicious.  The pumpkin-pecan cake and the lemon-cream cheese frosting are the perfect combination.  My mother-in-law said that this was the best cake I've ever made.  And I agree!

Pumpkin-Pecan Cake with Lemon-Cream Cheese Frosting
(adapted from Southern Cakes by Nancie McDermott)

Pumpkin-Pecan Cake:

  • 2-1/2 cups flour
  • 2-1/2 teaspoons baking powder
  • 1-1/4 teaspoon salt
  • 1/2 teaspoon baking soda
  • 2 teaspoons ground cinnamon
  • 1/2 teaspoon ground nutmeg
  • 1 cup chopped pecans
  • 1 cup plus 2 tablespoons vegetable oil
  • 2 cups sugar
  • 4 eggs
  • 2 cups pumpkin puree (fresh or canned)


Lemon-Cream Cheese Frosting:

  • 3 cups powdered sugar
  • 8 oz. cream cheese, softened
  • 2 to 3 tablespoons lemon juice


To make the cake:
Heat the oven to 325ºF.  Grease and flour one 13 x 9 inch pan.


In a medium bowl, combine the flour, baking powder, salt, baking soda, cinnamon and nutmeg, stirring with a fork to mix everything well.


In a small bowl, combine the pecans with 1/4 cup of the flour mixture and 2 tablespoons of the oil; toss to mix well.


In another medium bowl, combine the sugar and the remaining 1 cup of oil and mix well with a wooden spoon or wire whisk.


Add the eggs, one at a time, beating well after each addition.


Add the remaining flour mixture all at once and stir just until the flour disappears into the batter.


Add the pumpkin and mix thoroughly.


Stir in the floured nuts, gently mix them in well.


Quickly transfer the batter to the cake pan.  Bake at 325ºF for about 25 minutes or until the cake begins to pull away from the sides of the pan and springs back when touched lightly in the center.


Let the cake cool completely in the pan on a wire rack.


To make the frosting:
Combine the powdered sugar, cream cheese and lemon juice in a medium bowl.


Beat with an electric mixer until creamy and smooth. (If frosting is too thick, add more lemon juice until desired consistency.)


Spread frosting over cooled cake.


Enjoy!!!


With Love,

Pumpkin 101: How to Make Homemade Pumpkin Puree, Calabaza Enmielada & Roasted Pumpkin Seeds


lacocinadeleslie.com

I really love pumpkin!  I can't imagine autumn or the holidays without it!  And I doubt my Hubby would ever forgive me if I didn't make a pumpkin pie on Thanksgiving.   According to him, we can do without the turkey, but the pumpkin pie is a must!  Unfortunately, canned pumpkin is not available where I live.  So, when our friendly neighborhood calabaza vendor walks through the neighborhood with his wheelbarrow full of Mexican pumpkins, I buy a bunch of them to cook and make my own homemade pumpkin puree.  When I make a particularly huge batch of homemade pumpkin puree, I'll freeze it to use in all my favorite pumpkin recipes.

Cooking your own pumpkin is not difficult at all.  Some people prefer to bake theirs.  That's what my grandmother always did when I was growing up.  But you can also cook pumpkin on your stove top.

Making your own homemade pumpkin puree is something your kiddies can help you with too, especially when it comes to splitting the pumpkin open.  Don't worry!  There is no need for sharp knives.  My mother-in-law taught me a little trick that my kiddies love.  Take your pumpkin to your back patio or driveway, and let the kids drop the pumpkin, repeatedly, onto the hard cement floor until the pumpkin has split in half or into pieces big/small enough to fit in your stockpot.  And since you're going to rinse off the pumpkin in the sink before cooking it, you don't have to worry about any dirt that might get on your pumpkin.  

Homemade Pumpkin Puree

Ingredients:
  • 1 medium pumpkin, split in half
  • 2 to 3 cups water 

Directions: 
Rinse the pumpkin off thoroughly with cold water.  Remove the pumpkin seeds and set aside. Using a spoon, scrape and remove any loose strands of pumpkin.  If necessary, cut the pumpkin into large chunks.  Arrange the pumpkin pieces in a large stockpot.  Fill with 2 to 3 cups of water, depending on how big your pumpkin and stockpot are.  Cover stockpot and simmer over medium heat for 30 to 40 minutes or until the pumpkin flesh is tender.

Let pumpkin cool slightly.  Scoop out the cooked pumpkin into a strainer.  Press down slightly to drain any excess water.

Use the pumpkin puree in your favorite recipes or freeze in freezer baggies filled with 1-1/2 cups of pumpkin puree, which is about the same amount of pumpkin you get in a can of pumpkin puree.  Enjoy!!!

lacocinadeleslie.com


-------------------------------------------------------------------


Now here in Mexico, the way to cook pumpkin is very similar to the method I shared above.  The only difference is that we add a cone or two of piloncillo to the pot of pumpkin.  The piloncillo melts with the heat, and combines with the water to make this gorgeous amber colored syrup that covers and sweetens all of the pumpkin.  The longer you cook the pumpkin in the syrup, the thicker the syrup gets.  We call this dish Calabaza Enmielada (cooked pumpkin with a piloncillo syrup).  It's so sweet and delicious.  I love to eat Calabaza Enmielada for breakfast.  But this also makes for a delicious pumpkin puree to use in your favorite pumpkin recipes.  (Just make sure to adjust the amount of sugar called for in your recipes.)  My grandpa used to make empanadas with his Calabaza Enmielada. Yum! 

Calabaza Enmielada
(Cooked Pumpkin with Piloncillo Syrup)

Ingredients: 
  • 1 medium pumpkin, cleaned and cut in large chunks
  • 2 to 3 cups of water
  • 2 cones piloncillo
  • 1 stick cinnamon (optional)
Directions:
Clean the pumpkin as instructed in the previous recipe.  Arrange the pumpkin pieces in a large stockpot with 2 to 3 cups of water.  Place the piloncillo cones and cinnamon stick on top of the pumpkin pieces.  Cover the stockpot and let simmer over medium-low heat for about 45 minutes to an hour.  Be sure to check occasionally, to make sure the syrup hasn't completely evaporated.

Enjoy!!!


lacocinadeleslie.com

Traditionally, Calabaza Enmielada is served as is.  But...you can scoop out the sweetened cooked pumpkin into a bowl along with a couple tablespoons of the piloncillo syrup. Top with a splash of milk, and voila!  You have what we like to call Taninole.  

--------------------------------------------------------------------

And now for those pumpkin seeds I had you set aside at the beginning of this post.  I'm going to show you how to make your own Pepitas (Roasted Pumpkin Seeds)!  This is a great way to use up all of those pumpkin seeds you might have left after carving your Jack-o-lanterns for Halloween.  

Toasting your own pumpkin seeds is so easy to do.  You can either roast them in the oven, or toast them on a comal or griddle on your stove top.  One taste and I'm sure you'll never want to buy store bought pumpkin seeds again.  My Hubby loves to snack on homemade Pepitas when he's watching futbol.  

Pepitas
(Roasted Pumpkin Seeds)

Ingredients:
  • Raw pumpkin seeds 
  • Salt
Directions:
Rinse pumpkin seeds completely.  Make sure to remove any loose strands of pumpkin.  Drain in a colander, but do not dry.

If baking Pepitas in an oven, preheat your oven to  375ºF.  Spread the wet pumpkin seeds onto a greased baking/cookie sheet.  (I like to line my baking sheets with aluminum foil for easy clean-up.)  Sprinkle the pumpkin seeds generously with salt.  Bake at 375ºF for 5 minutes.  Lightly toss the pumpkin seeds, then bake for an additional 5 minutes. The pumpkin seeds are ready when they are completely dry.

If making Pepitas on the stove-top, sprinkle the wet pumpkin seeds generously with salt, then toast on top of a cast-iron comal or griddle over low heat, stirring occasionally, until the Pepitas are completely toasted.  (My Hubby prefers this method, because he likes the rustic, slightly charred look of the toasted Pepitas.)    

Let the Pepitas cool slightly before eating.  Enjoy!!!  

lacocinadeleslie.com

Store any leftover Pepitas in an air-tight container.


Lemon-Maseca Waffles


Saturday is our Family Breakfast Day.  During the week, we don't get a chance to sit down as a family for breakfast because all of the kids wake up and start school at a different hour.

A few years ago, I saw a recipe for Lemon-Cornmeal waffles on Sugar. I loved that show!  Chef Anna Olson made those waffles look so delicious with her strawberry-rhubarb sauce that I just had to try them.  The only problem was that cornmeal isn't easy to find in Mexico.


But I've worked around that problem before!  There is one product, available in every tiendita in Mexico that works great in almost every recipe that calls for cornmeal.  MASECA! (Maseca is masa harina used to make corn tortillas and tamale batter.)

The first time I tried the recipe, I followed it exactly.  The waffles were delicious, but I wanted a stronger Maseca taste.  It took a couple of tries before I got the result I wanted.

The original recipe suggests a strawberry-rhubarb sauce.  I've never seen rhubarb in Mexico, so when I first made these waffles, I made the sauce with strawberries.  Both the waffles and sauce are delicious.  But when served together, the flavor of the strawberry sauce covers the faint flavors of the lemon and cornmeal.  I prefer to serve these waffles with a dusting of powdered sugar or maple syrup. 

Lemon-Maseca Waffles
(slightly adapted from Anna Olson's recipe)

Ingredients:

  • 1 cup flour
  • 3/4 cup Maseca (or cornmeal)
  • 2 Tablespoons sugar
  • 1 Tablespoon baking powder
  • 2 teaspoons lemon zest
  • 1/2 teaspoon salt
  • 1-1/4 cups buttermilk*
  • 1/2 cup vegetable oil
  • 2 large eggs, separated


 Directions:
 *If you don't have buttermilk, stir 1 tablespoon of white vinegar into the 1-1/4 cups of milk and let sit for 10 minutes.


In a medium bowl, mix together the flour, Maseca, sugar, baking powder, lemon zest and salt.  


In a separate bowl or a 2-cup measuring cup, whisk together the buttermilk, vegetable oil and egg yolks.


Add the buttermilk mixture to the flour mixture; mix until just combined.  Do NOT overmix.  (A few lumps are okay!)


Using an electric mixer on medium speed, beat the egg whites until soft peaks form.


Gently fold the egg whites into the waffle batter.


Lightly grease a 7-inch waffle iron with butter or cooking spray.  Spoon 2/3 cup of batter onto waffle iron. (Use more or less batter depending on the size of your waffle iron.)  Close the waffle iron and let cook 4 minutes or until no steam escapes from the waffle iron.


Serve immediately or keep warm in a 200ºF oven until ready to serve.  Enjoy!!!


With Love,

Rajas con Crema {Roasted Poblano Pepper Slices with Cream}


Rajas con Crema (Roasted Poblano Strips w/ Cream) - lacocinadeleslie.com

Have you ever eaten something, thinking it was one thing, but later learned it was something completely different? That is exactly what happened to me with today's recipe.  My grandfather always prepared a chilito (salsa) with roasted poblano peppers, chopped onion and tomato and sour cream.  Pappy used his chilito as a garnish with whatever he was eating, especially with Carne Asada.  Years later I learned that Pappy's chilito was actually a dish called Rajas con Crema (Roasted Poblano Strips w/ Cream). And it isn't served as just a garnish. It's a main dish that can be served on it's own with Mexican Rice, or as a filling for tacos and/or burritos.

Rajas con Crema
lacocinadeleslie.com

Ingredients:
  • 8 poblano peppers
  • 2 tablespoons vegetable oil
  • 3 tomatoes, roughly chopped
  • 1 medium onion, sliced
  • 1 clove garlic, minced
  • 2 cups Mexican Crema or Sour Cream 

Directions: 
Roast the poblano peppers on a comal or griddle, until the skin is completely charred. (You can also roast the peppers in your broiler.) Place the roasted poblano peppers in a plastic or paper bag; let set for 5 to 10 minutes. (This causes the peppers to sweat, making it much easier to remove the skin.)  

Remove the skin, stems and seeds from the poblano peppers. Cut the peppers into strips. 

In a medium skillet, heat the vegetable oil over high heat. Saute the tomatoes, onion, and garlic in the hot oil for about a minute. Add the poblano peppers and saute for another minute. Stir in the Mexican crema; season with salt and pepper.  Cover skillet and simmer Rajas con Crema over low heat, stirring occasionally, until mixture begins to bubble. Serve with Mexican rice Enjoy!!!

Rajas con Crema - lacocinadeleslie.com


Dreaming of Red Velvet

I was really looking forward to my third cake with The Cake Slice Bakers.  I sat out on last month's cake because I couldn't find the key ingredient which was white chocolate.

After looking through my Southern Cakes cookbook I noticed that I had pretty much all of the ingredients for this month's cake...Red Velvet.
 
One of the two ingredients that I didn't have on hand was buttermilk.  But that's easily remedied.  All you have to do is add a tablespoon of white vinegar to a cup of milk and let it set for ten minutes.

And I didn't have liquid or gel food coloring, but the farmacias (pharmacies) carry a powdered version that works great.

My plan was to make this cake for my mother-in-law's birthday.  And so I started...

I buttered and floured my cake pans.


I combined the salt and the flour.


I stirred the vanilla into my faux buttermilk.


And I mixed the cocoa powder with my powdered food coloring.


Then I proceeded to cream the butter.


Added the sugar.


Beat in the eggs one at a time.


And added the cocoa powder mixture.


Then I added a third of the flour mixture. Just look at that gorgeous color!


And half of the milk.


The final step was adding the baking soda to white vinegar and stirring it in to the batter.


All of this resulted in a light, airy and fluffy batter.  It was like a big bowl of pink meringue or mousse.


I was a little worried that the vinegar might be too overpowering.  I tasted a bit of the batter and fell in love.  It was absolutely to die for! 

I couldn't wait to see what it tasted like all covered in frosting. So I divided the batter into my cake pans and popped them into my preheated oven.

My oven temperature is a little off, so instead of baking the cake for 20 to 25 minutes, I'd have to bake it for 40 to 50 minutes.  Knowing my oven, I gave it a few more minutes.

After the cakes had baked for an hour, I peeked through the oven window to see if they looked done, but was horrified to see that they looked the same as when I had put them in the oven.

So I waited a little longer.  I think I left the cakes in the oven for a total of 2 hours.  Frustrated I opened the oven door to find that my oven flame was even lower than usual. UGH!!! 

I can't believe it!  My oven is dying!  I'm heartbroken and devastated!  And I really wanted to taste that Red Velvet cake!

I'm still not sure if we're going to fix our stove or buy a new one, but it looks like I won't be baking for awhile. 

If you want to see what this cake looks like finished, be sure to check out the rest of The Cake Slice Bakers.

With Love,